They're the easy way for you to allocate costs in your organisation.
Using them helps you to monitor, plan and control your spend in any way you choose, as you get to define the information. Not only can you download BT data, you can also define your own data and add this additional information back into the system. So, for example, you could create Cost Centres for departments, areas of the country or a mix of different options.
To get started head to Bill Analytics.
Where do I find Bill analytics?
You'll find it in My Account. You'll need to sign in to use it, or register for My Account first.
1. In My Account, head to Billing
2. Select Bill analytics from the left-hand menu.
How do I set up a Cost Centre?
Now you're in Bill Analytics, it's straightforward to set up a Cost Centre and should take you about five minutes. Here's what you do:
1. Select Search from the navigation bar at the top of the page.
2. Now on the left-hand menu open Bill Analytics and double click Service ID.
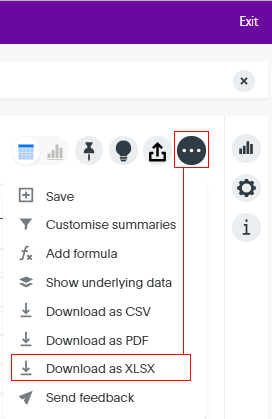
3. You'll see your Service IDs displayed. From the right-hand menu More icon (three dots) select Download as XLSX.
4. Open up the data you've downloaded. Delete the report title and blank header rows, but leave the Service ID column heading. Now add your cost centre data in column B onwards and then save as a CSV file and close.

5. Go back to Bill Analytics and select Data from the navigation bar at the top of the page.
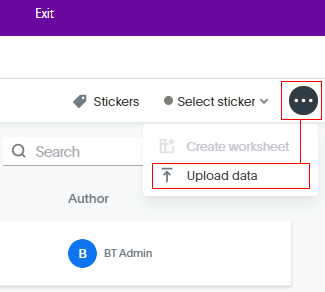
6. Select Upload data from the right-hand menu More icon (three dots). Now browse and select your cost centre CSV file.
7. You should see your file title in the central section. Select Yes if you've included column names, then select Next.
8. Your uploaded data will now be presented for confirmation, click Next.
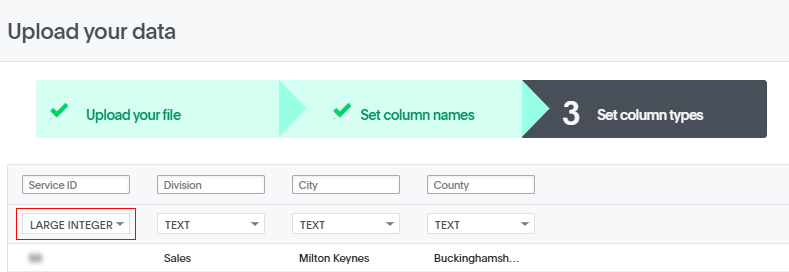
9. Change and set the Service ID column type from Large Integer to Text and click Upload.
10. On the confirmation screen, choose Link to existing data.

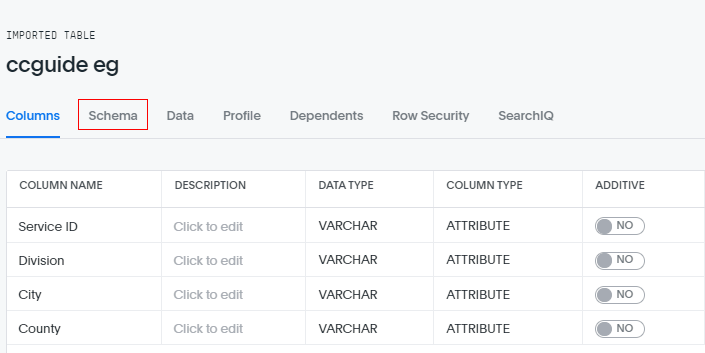
11. On the next page, select Schema.
12. And on the next page, select Add join.
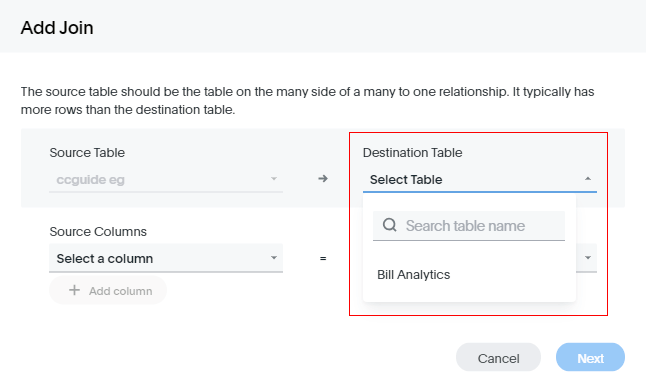
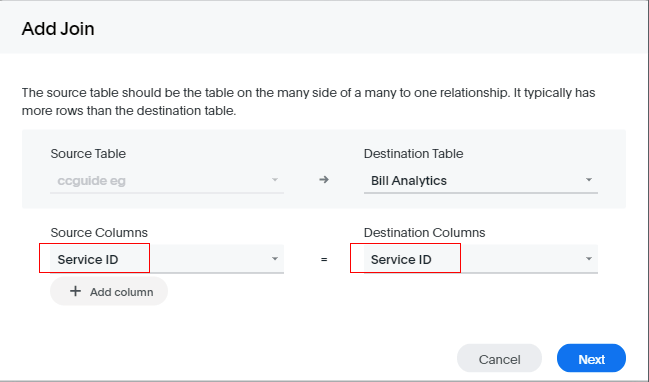
14. Then select Service ID from the drop-down options for the Source Column and Destination Column and then click Next.
15. Add your join name and description (optional) and click Next.
16. You'll see the following confirmation screen displayed.
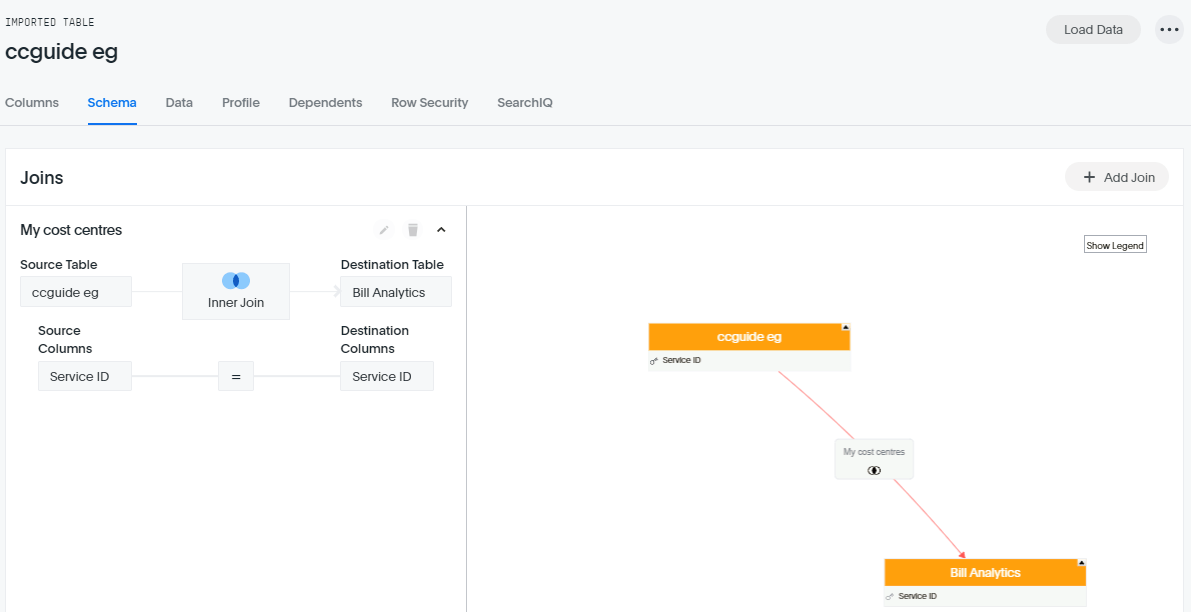
17. You've created your cost centre data and you're ready to go - select Search.
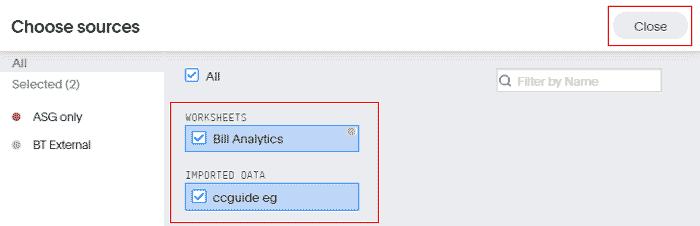
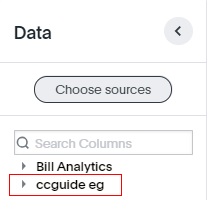
18. Select Choose sources to add your cost centre data to your report options.
19. Now check both Worksheets and Imported Data, and click Close.
20. Your cost centres are available as an additional data source.
For any queries about Bill analytics, call us on 0800 756 0806.